
How to build deploy your own AI Agent? This is a tutorial about installing zeroclaw on your cheap hardware.
This blog covered how to install alpine linux on raspberry pi zero2w, install OpenSSH, build zeroclaw against musl (latest or minor versions may not include musl support) and configure zeroclaw with OpenRC init system.
Introduction
Zeroclaw is an Openclaw alternative, an autonomous AI agent. Openclaw is written in TypeScript, I do not like it at all. The runtime is heavy, while zeroclaw written in RUST, the response is almost instant. It is light, fast, efficient and superior to openclaw.
Jump Links
- flash Alpine Linux
- preconfigure OpenSSH
- How to build zeroclaw against musl?
- Configure persistent service for zeroclaw
Flash Alpine linux image onto raspi zero2w
Download the official raspberry pi imager, and plug the SD card into your computer, follow its steps and flash the alpine Linux image.
The alpine linux image provided is a diskless image, which means the entire system will be running on RAM, we will configure that later when we log into the machine. Don’t unplug the SD card yet, we need to preconfigure OpenSSH.
Preconfigure OpenSSH on alpine linux
Due to alpine linux nature, secure and minimum. It does not bundle the OpenBSD secure shell. We need a bootstrap program, that executed on the first boot and bring us OpenSSH. Alpine Linux BootStrap Repo. Go to that github repo, download headless.apkovl.tar.gz and place it under /boot, the partition usually called PIBOOT.
Then configure wifi with
wpa_passphrase 'YOUR_WIFI_NAME' 'YOUR_WIFI_PASSWORD' > wpa_supplicant.confIf you want to use ssh public key login, place your public key inside a file called authorized_keys.
Finally save all your modifications and eject it. Plug it in your raspi zero2w and boot it.
Try ssh into your machine. If it did not respond, ping it first, then try again. I found the raspi zero2w alping wifi firmware quite unstable, so ping it first, could save you lots of time debugging. Alpine WIKI wireless driver post installation
After gaining access, run setup-alpine to make a proper installation on raspi zero2w,
then reboot, and apk update && apk upgrade to keep software up to date.
Build zeroclaw against musl C libray
Here comes the interesting part. If you go to zeroclaw-labs/zeroclaw, you will find out they don’t always provide linux-aarch64-musl binary. x86 and arm64 glibc is usually provided, musl is ignored often. Then we must build it ourselves. The most straight forward way is to use a docker container as builder.
Alpine uses musl libc instead of glibc. Prebuilt binaries targeting glibc will fail to run. Therefore we build inside an Alpine environment to ensure compatibility.
docker run -it --dns 1.1.1.1 alpine:latest /bin/shYou will now inside containers root. It’s recommend to check the network connections ping 8.8.8.8 and nslookup google.com.
First install build essentials
apk update
apk upgrade
apk add curl git gcc build-base

curl --proto '=https' --tlsv1.2 -sSf https://sh.rustup.rs | sh  # Install Rust
Build the binary
# Clone the repo
# You can specify a release tag, and clone with
# git clone --branch <tag name> --depth 1 https://github.com/zeroclaw-labs/zeroclaw.git
# This will save some time, and use smaller storage
git clone https://github.com/zeroclaw-labs/zeroclaw.git

git switch --detach <release tag name> # Find the latest release tag on github

cargo build --release
Transfer out the binary
You will find the binary at target/release, transfer it out to your destination. If your firewall
allows containers to reach LAN, you can try scp zeroclaw <YOUR NAME>@<LAN IP ADDRESS>
Otherwise, use croc, schollz/croc, which uses a public
relay node provided by the author to transfer file. Also please consider donation to this beautiful opensource
software.
Deploy and configure zeroclaw
Now comes to the final section, deploy zeroclaw to the target machine, you should now have
the binary on your target machine.
Install zeroclaw
Install zeroclaw to local machine, mv ./zeroclaw /usr/local/bin/.
You should verify with which zeroclaw and zeroclaw --version, if instruction set matches,
you should not encounter any errors.
Configure zeroclaw daemon
Alpine linux uses OpenRC init system. First add a dedicated user for zeroclaw.
adduser zeroclaw
# It will prompt you to set password
# Do not give Agent full root permission is a good practice
Here we onboard zeroclaw
su - zeroclaw
# Follow onboard instructions, after you finish
# run `exit` return to root user
Next configure the daemon unit file, vi /etc/init.d/zeroclaw,
press i enter insert mode. Here is a example unit file.
#!/sbin/openrc-run

name="zeroclaw"
description="ZeroClaw daemon"

command="/usr/local/bin/zeroclaw"
command_args="--config-dir /home/zeroclaw/.zeroclaw daemon"
command_user="zeroclaw:zeroclaw"
directory="/home/zeroclaw"

supervisor="supervise-daemon"
pidfile="/run/${RC_SVCNAME}.pid"

output_log="/var/log/zeroclaw/access.log"
error_log="/var/log/zeroclaw/error.log"

export HOME="/home/zeroclaw"
umask 027

depend() {
    need net
    after firewall
}

start_pre() {
    checkpath -d -o zeroclaw:zeroclaw -m 0755 /home/zeroclaw/.zeroclaw
    checkpath -d -o zeroclaw:zeroclaw -m 0755 /var/log/zeroclaw
}
Use rc-service start zeroclaw to start zeroclaw service, and use
rc-update add zeroclaw default to make it presistent even after reboot.
Ending
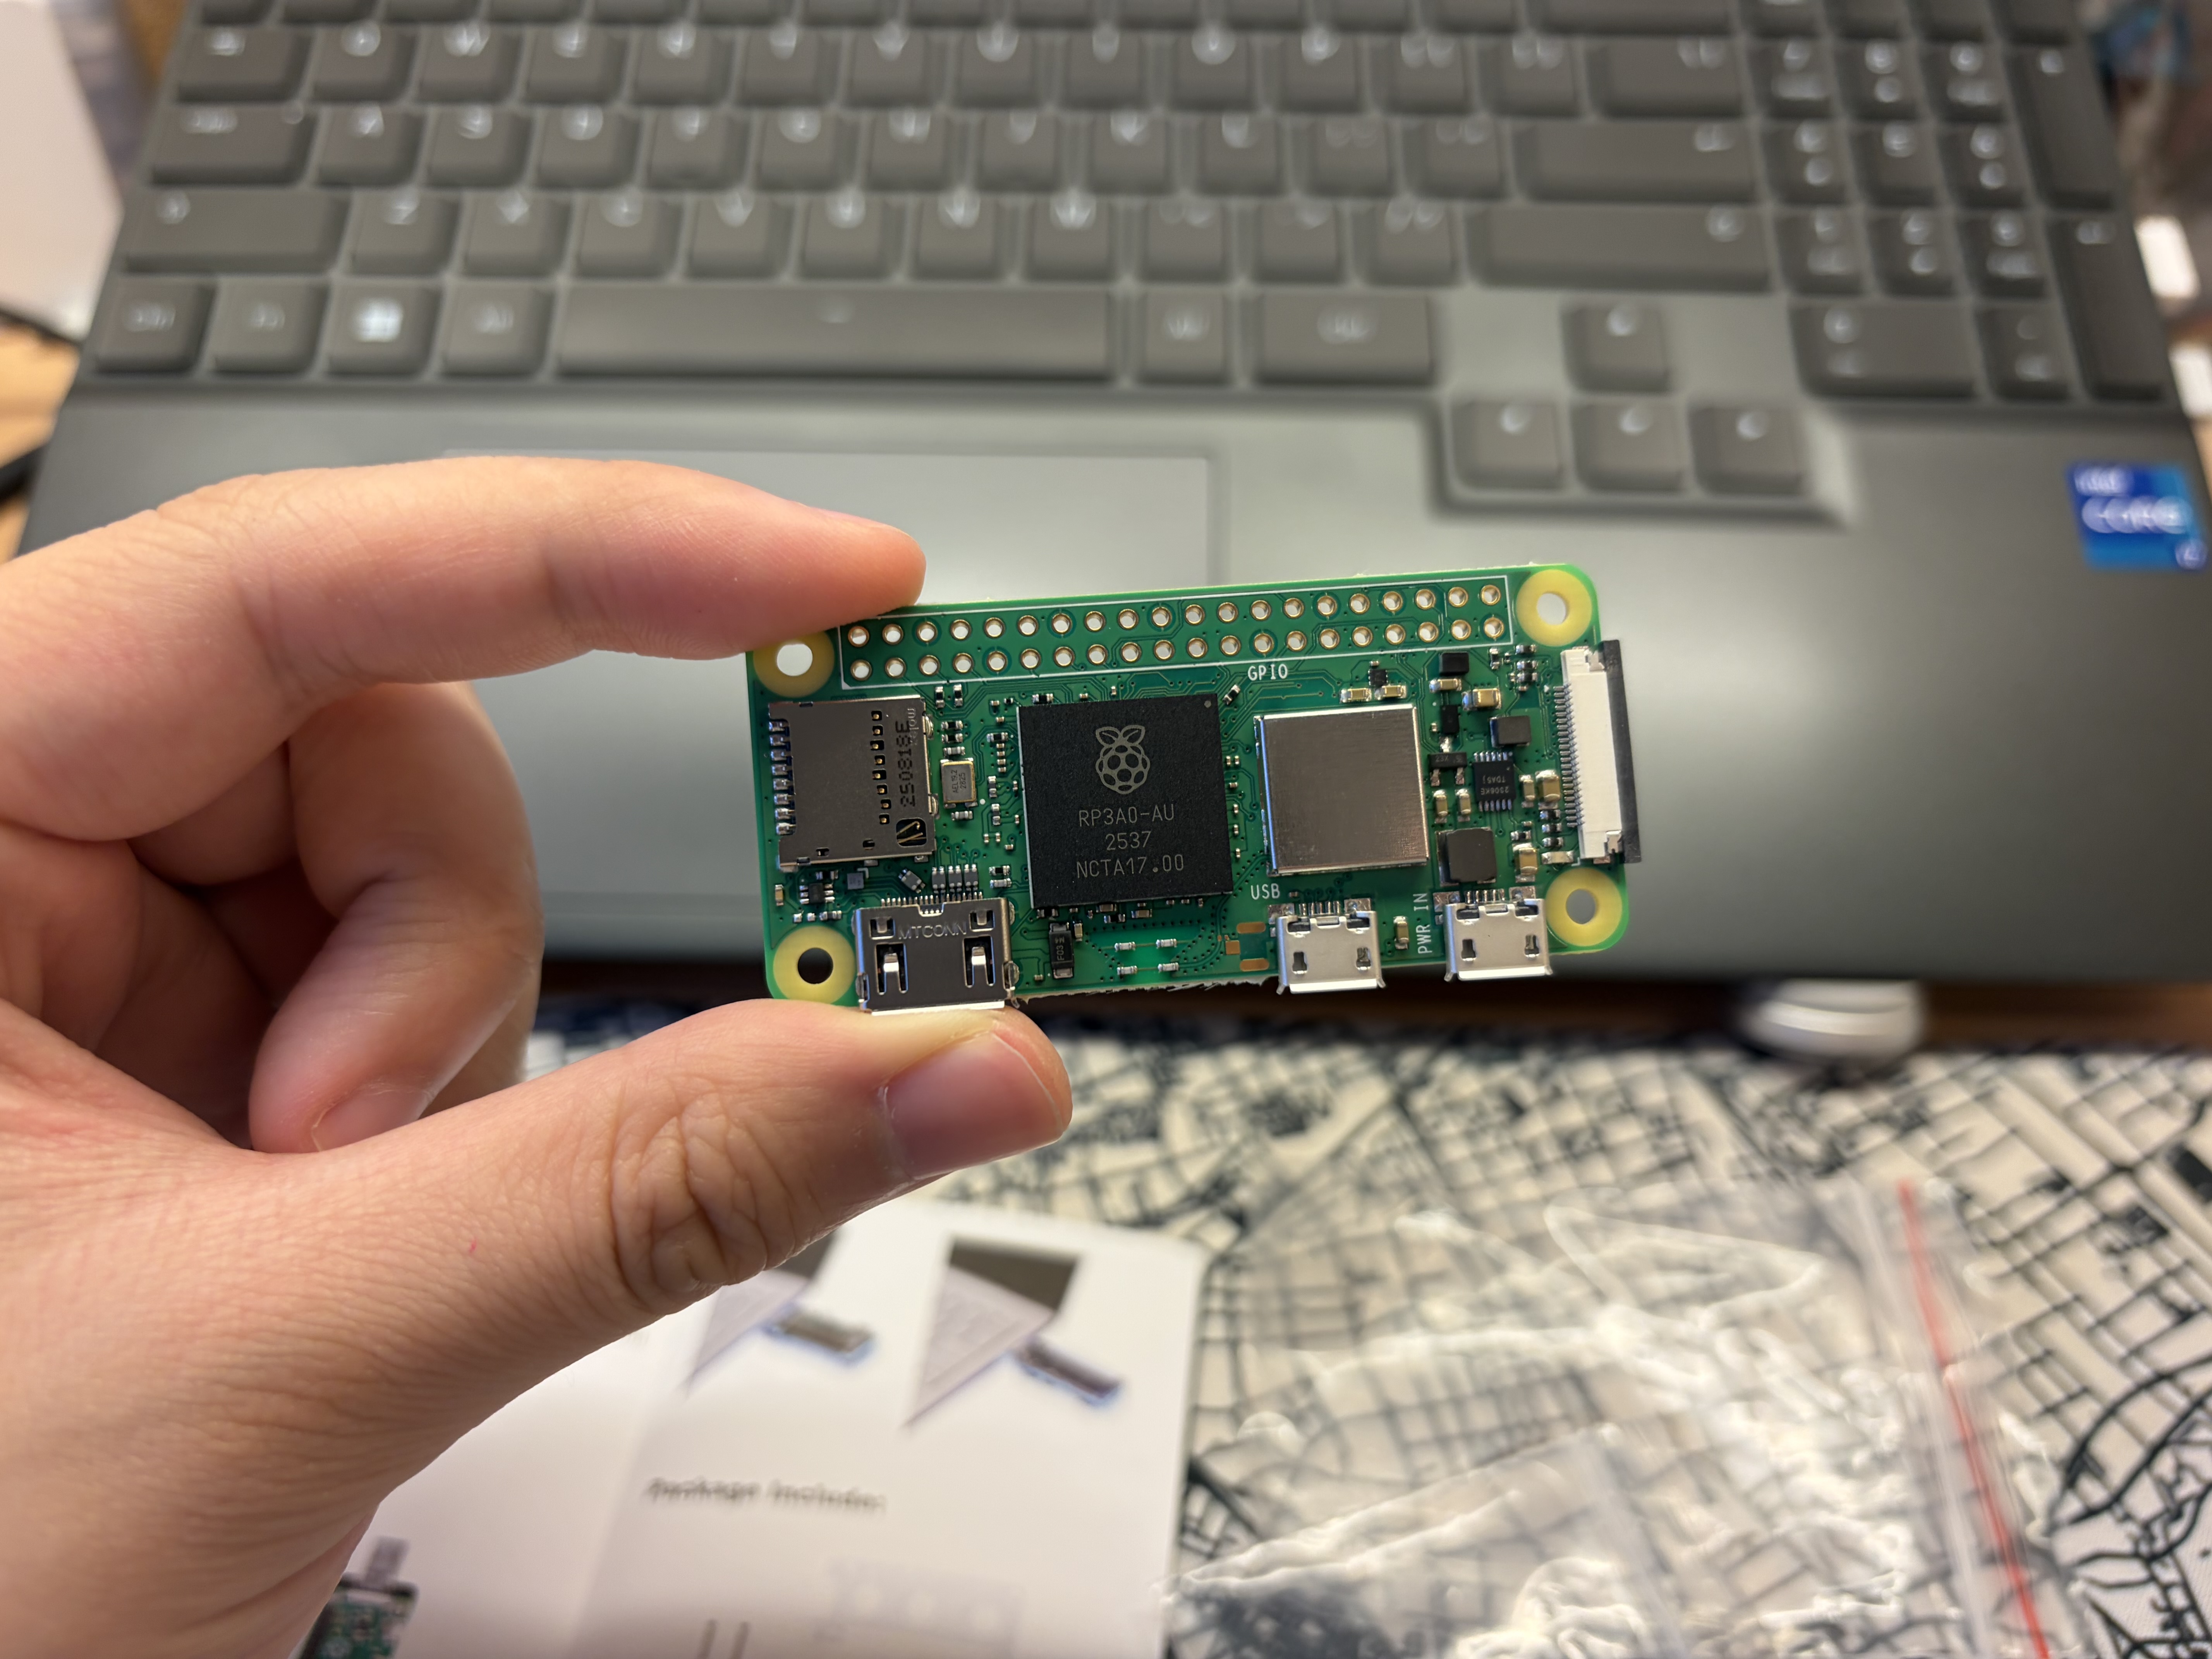
Raspi zero2w is a very tiny computer about 15$, with quad A53 core running at 1.0GHz and 512 MB of RAM. Alpine linux is super light, which takes about 30MB of ram after boot. Zeroclaw is light weight as well, uses about 20-30 MB. I also intalled tailscale on it, this will take another few MB. In total, it used about 70MB.
zihao@alpine:~$ free -h
              total        used        free      shared  buff/cache   available
Mem:         416.6M       65.8M      180.3M      320.0K      170.4M      340.1M
Swap:             0           0           0
With this setup, you now have a persistent AI agent running on ultra-low-cost hardware.