

Start off Private Network with Tailscale
It all started with a Raspberry Pi.
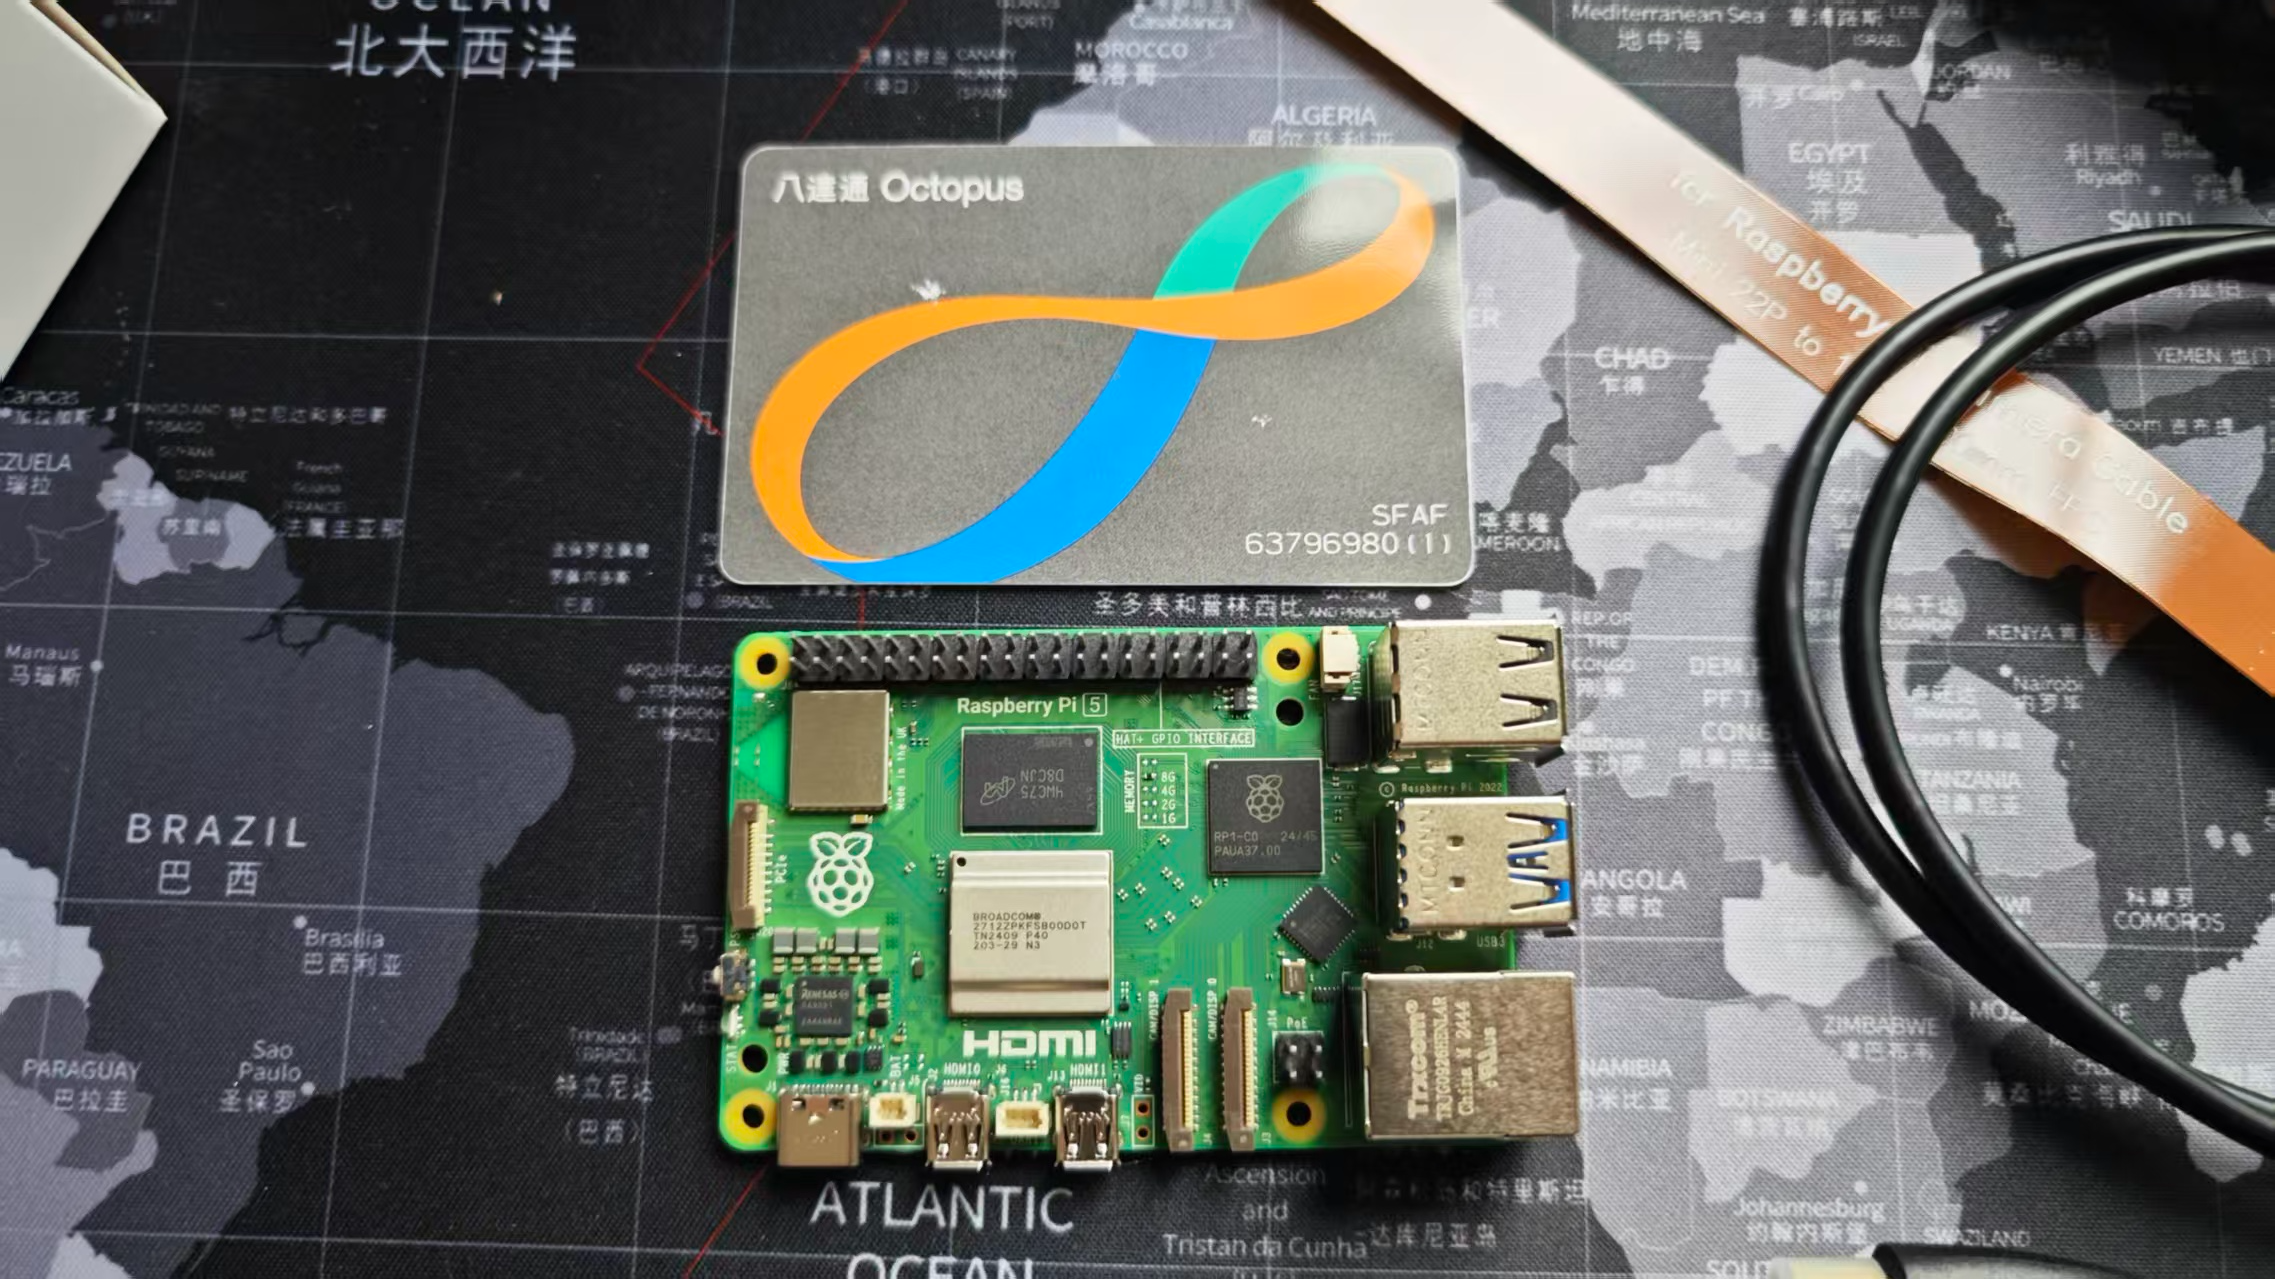
After getting my hands on a Raspberry Pi, I was eager to explore its potential. Among the many projects, setting up a personal VPN with PiVPN caught my interest. The idea of having a secure and private network was fascinating.
However, I soon hit a roadblock. I was in Hong Kong, and my Raspberry Pi didn’t have a public IP address, a crucial requirement for PiVPN which uses WireGuard. After some head-scratching, I discovered Tailscale, and it turned out to be the perfect solution.
Comment on 12/6/2025: HKUST resnet do provide public ipv4 over wall jack. To be more accurate, university firewall blocks all inbounds, and I incorrectly believe I did not have an public ipv4.
What is Tailscale?
Tailscale is a zero-config VPN that creates a secure network between your computers, servers, and cloud instances — even when separated by firewalls and subnets. It’s built on top of WireGuard®, which means you get the speed and security of a modern VPN protocol without the setup complexity.
For me, it meant I could finally connect all my devices, including my Raspberry Pi and a few cloud VMs from DigitalOcean, into a single, private “tailnet”.
Getting Started with Tailscale
Getting started with Tailscale was mostly straightforward, but I did run into a few configuration hurdles like enabling IP forwarding and disabling Generic Receive Offload (GRO) to get everything working smoothly.
Here’s a breakdown of how I set up my tailnet, which might help you get started as well.
12/6/2025: Go read the docs and health check with
tailscale statusgetting started is not that hard as you think
1. Installing Tailscale
The first step is to install Tailscale on all the devices you want to connect. Tailscale has clients for almost every operating system.
- Go to the Tailscale download page: tailscale.com/download
- Download and install the client for your OS (Linux, Windows, macOS, Android, iOS, etc.).
- Log in: After installation, you’ll be prompted to log in with a Google, Microsoft, or GitHub account. Use the same account on all your devices to add them to the same tailnet.
For my Raspberry Pi, I used the command line to install it:
curl -fsSL https://tailscale.com/install.sh | sh2. Advertising a Subnet (like a home network)
One of the most powerful features of Tailscale is the ability to use a device as a gateway to a whole subnet. This is what I did with my Raspberry Pi to access my home network from anywhere.
-
Enable IP forwarding on the gateway device (e.g., your Raspberry Pi).
- On Linux, you can do this by running:
echo 'net.ipv4.ip_forward = 1' | sudo tee -a /etc/sysctl.d/99-tailscale.conf
echo 'net.ipv6.conf.all.forwarding = 1' | sudo tee -a /etc/sysctl.d/99-tailscale.conf
sudo sysctl -p /etc/sysctl.d/99-tailscale.conf
- On Linux, you can do this by running:
-
Advertise the subnet route.
- First, connect your device to your tailnet by running
sudo tailscale up. - Then, use the
tailscale setcommand to advertise the route. You’ll need to know the IP range of your local network (e.g.,192.168.1.0/24).sudo tailscale set --advertise-routes=192.168.1.0/24
- First, connect your device to your tailnet by running
-
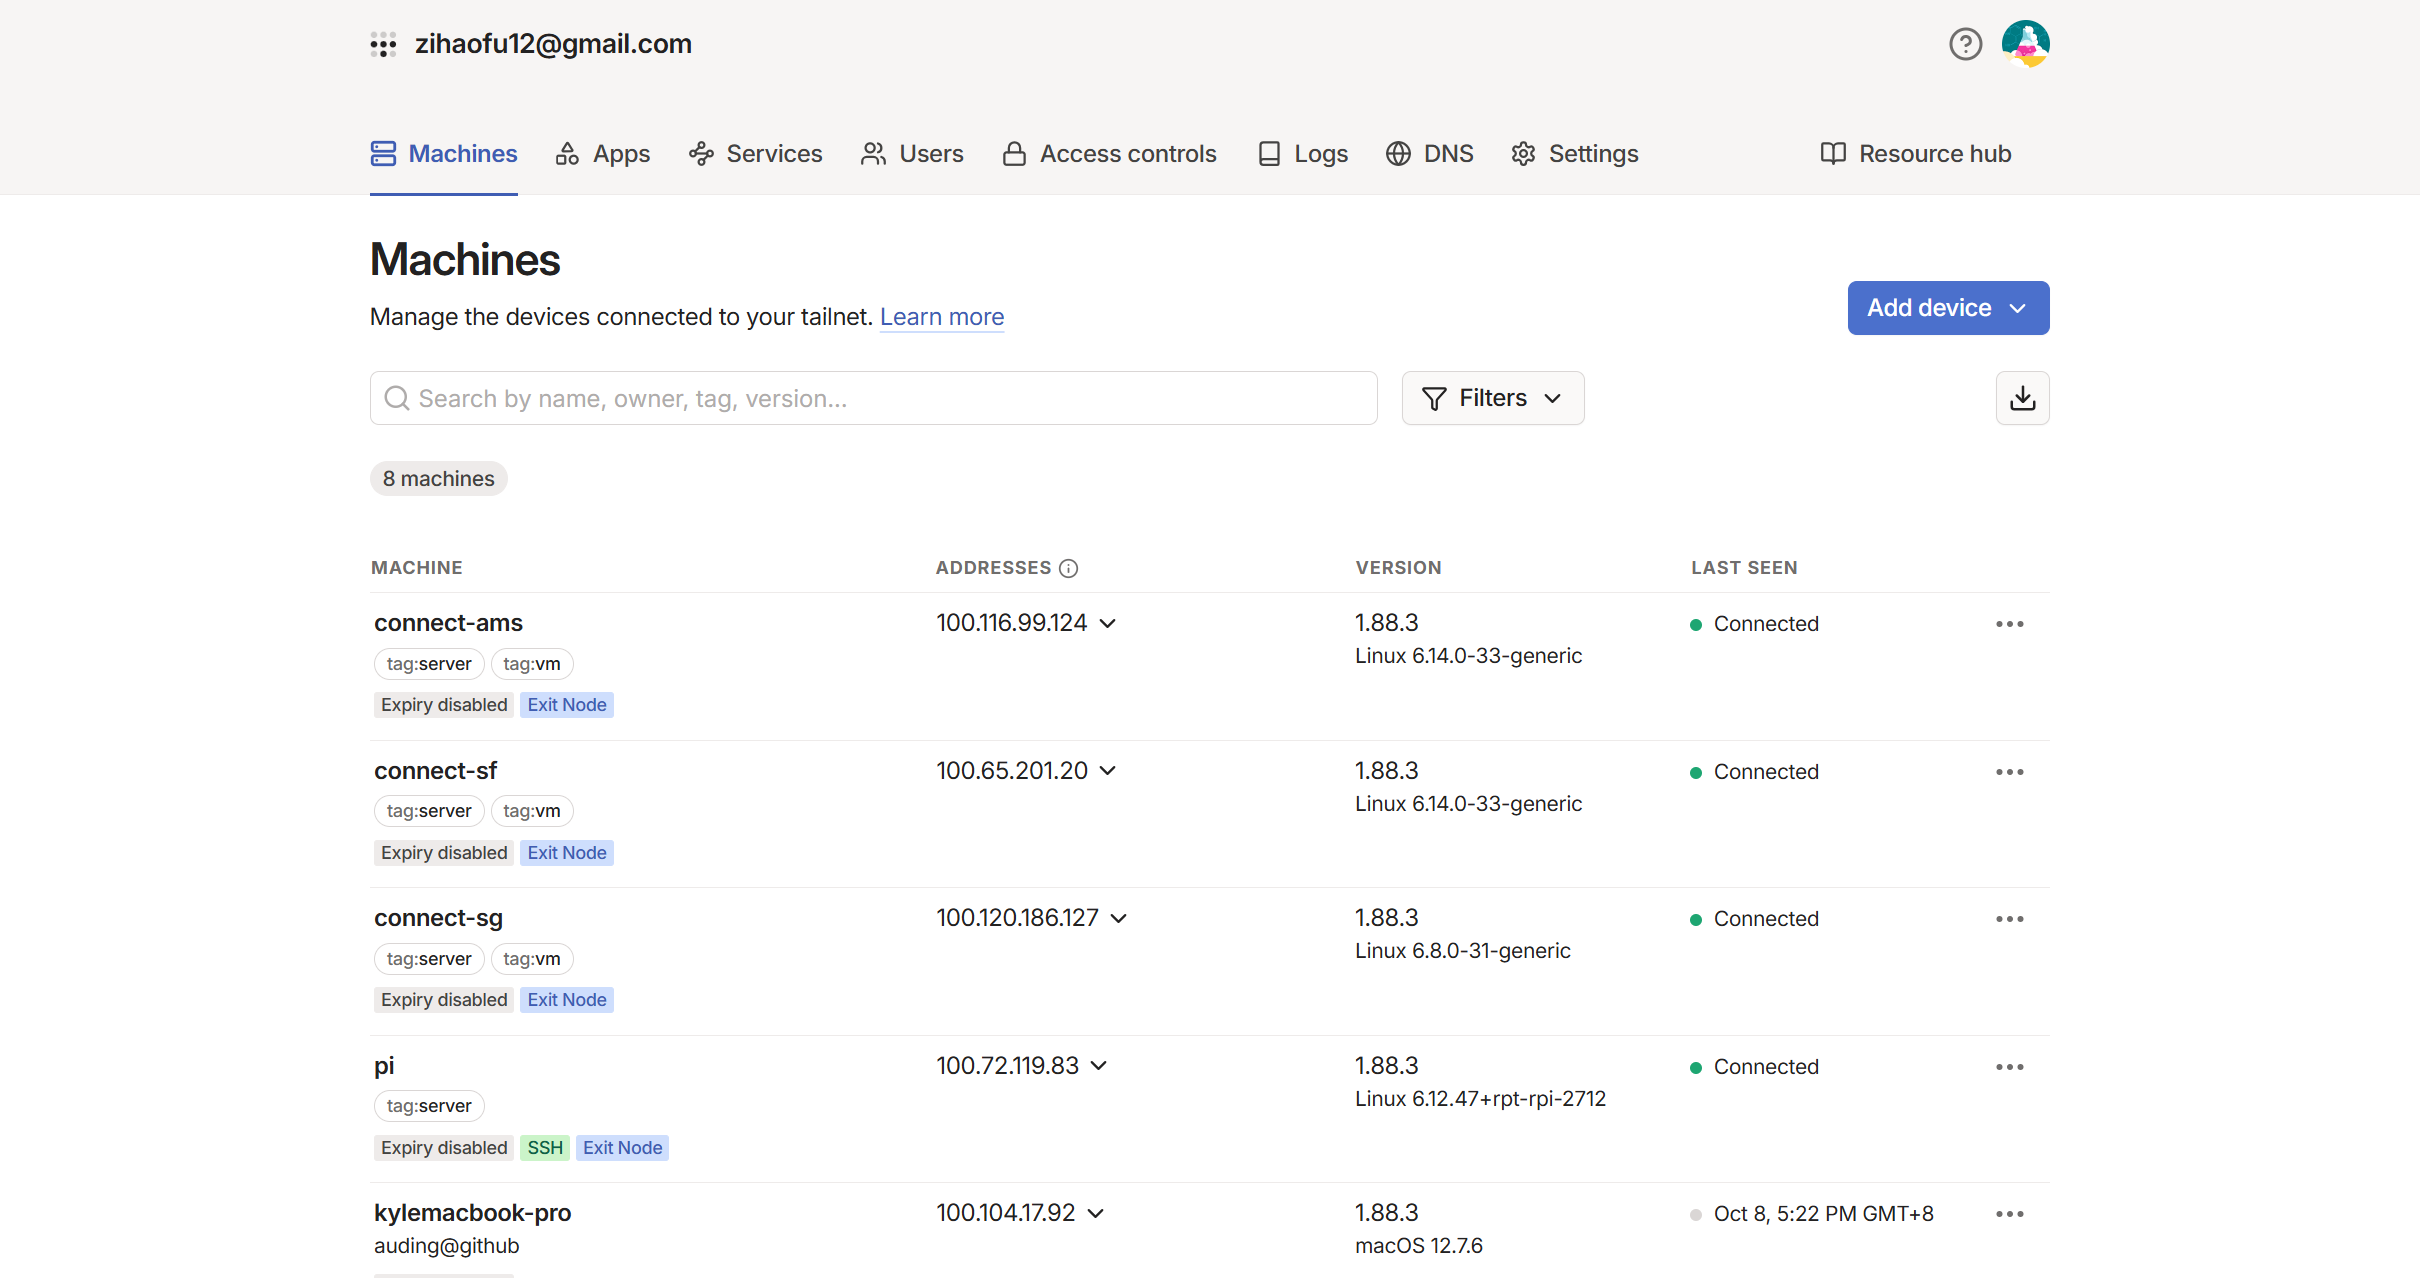
Approve the routes in the Tailscale admin console.
- Go to the Tailscale admin console.
- You will see your device with a “Subnet routes” badge. Click on it and approve the advertised routes.
3. Using an Exit Node
An exit node allows you to route all your internet traffic through another device on your tailnet. This is useful for securing your traffic on public Wi-Fi or accessing geo-restricted content. I set up one of my DigitalOcean VMs as an exit node.
-
Advertise a device as an exit node.
- On the device you want to be the exit node, run:
sudo tailscale set --advertise-exit-node
- On the device you want to be the exit node, run:
-
Approve the exit node in the admin console.
- Go to the admin console, find the machine, and approve it as an exit node.
-
Use the exit node from another device.
- On any other device in your tailnet, you can now choose to route your traffic through the exit node. You can enable this from the Tailscale client menu.
Conclusion
With Tailscale, I now have a secure, private network that connects my Raspberry Pi, my laptops, my phone, and my cloud servers. It’s been a game-changer for accessing my devices and services from anywhere in the world. If you’re looking for a simple and powerful way to create your own private network, I highly recommend giving Tailscale a try.
Appended on 12/6/2025
This is roughly about 2 month later I fully experienced tailscale. What a masterpiece. I have spinned up several VMs and running many docker containers. First amazing thing is, tailscale serve, no manually enter ip / machine address and ports any more. So good for self hosting. Second is secure connect, It can securly connect 2 computers, without relays if possible, offering low latency and stablity. My friend in Spain, running a minecraft server on his side, and I can join his world with the magic of tailscale. Excellent game experience and convenience. One notable replacement for this is e4mc mod for minecraft, however it requires install mods and goes through relays.